Baldur’s gate 3 offers an expansive experience, with a complete playthrough taking up to 200 hours for players that explore nearly every corner of the map and complete every available quest. Yet, even three years after its release, the game continues to surprise both new and casual players with hidden encounters, unexpected choices and secrets still waiting to be discovered.
It is nearly impossible to uncover every hidden treasure, witness every secret scene or trigger every check required to unfold the game’s full content. Baldur’s Gate 3 captures that Dungeons&Dragons campaing atmosphere where every step and every decision can take you down a different path. So we have gathered a selection of often-overlooked side quests that can make your playthrough even more magical.
Act 1: Harpies, Shadow Druids, Treasure and Zhentrims
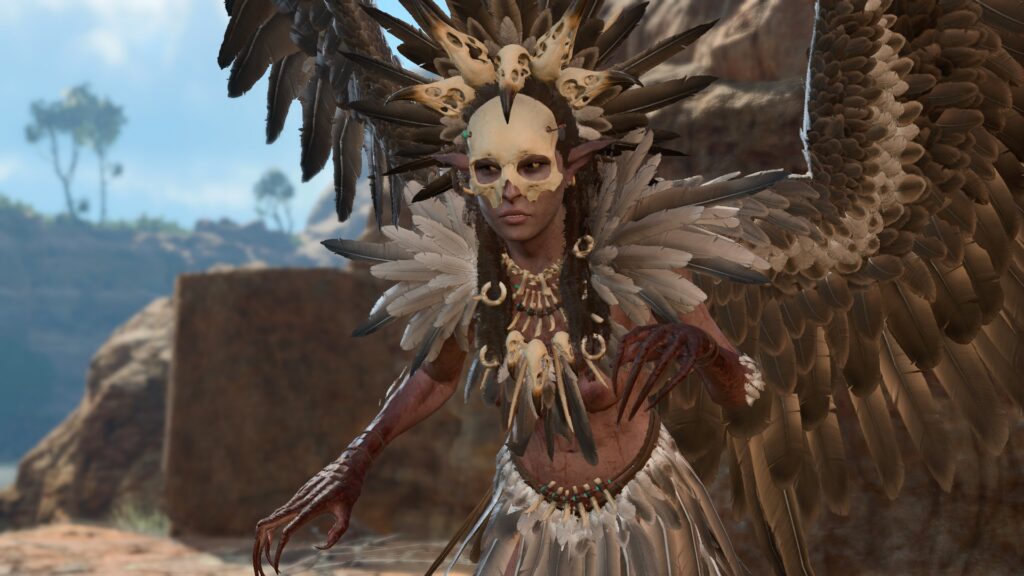
Save the Tiefling Boy and Find Harpies’ Nest
In act one, behind the druid’s grove near where Volo was talking to the bear, you’ll see a beaten path to the beach behind the grove. Once you and your party start walking that way, an enchanting voice will start singing and your Tav will react.
“Is someone … singing?”
From here you can proceed down the beach and rescue the tiefling boy. You’ll find the young boy entranced by the harpies song and this will start the quest to Investigate the Beach. You can try to convince the boy to get away and not to advance towards the song; however, he won’t listen to you and that will initiate combat.
During the battle make sure to keep the boy alive. On every turn there will be one or two harpies singing and their song can lure your party into them. If you attack the singing harpy and succeed the tiefling boy and anyone entranced by the song will snap out of it.
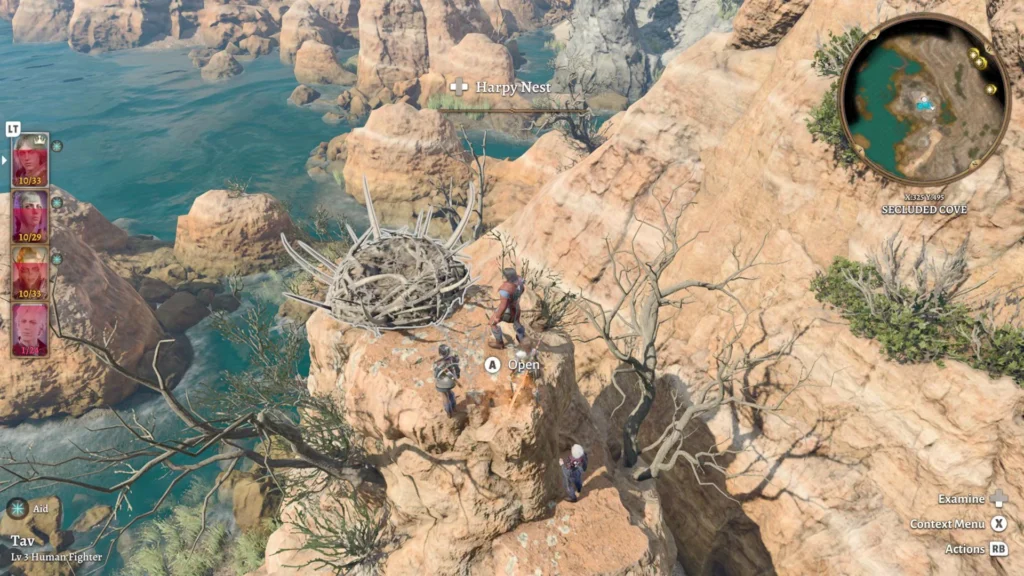
After defeating the harpies, go talk to the tiefling boy, he will tell you a special phrase to say to Doni, another tiefling kid, that will show you the entrance to their hideout.
Before heading back to the druid’s grove, check the back side of the rock where the Harpies first appeared, there you will find a chest.
From there, follow the rocks. After a bit of walking and jumping you’ll find the harpies nest.
Shadow Druids and Kagha’s betrayal
Don’t you find Kagha’s attitude suspicious? As a community of druids formerly led by someone as wise and compassionate as Halsin, according to others, it has fallen into the hands of someone much more severe like Kagha. There is a reason for all this, and to uncover the truth, you must activate the side quest “Investigate Kagha”. To do so, from the main chamber, after talking to Kagha and deciding whether or not to save Arabella, head to the room located in the north-west. There you will find a large number of shelves full of books and a stone table on which rests the Rite of Thorns.
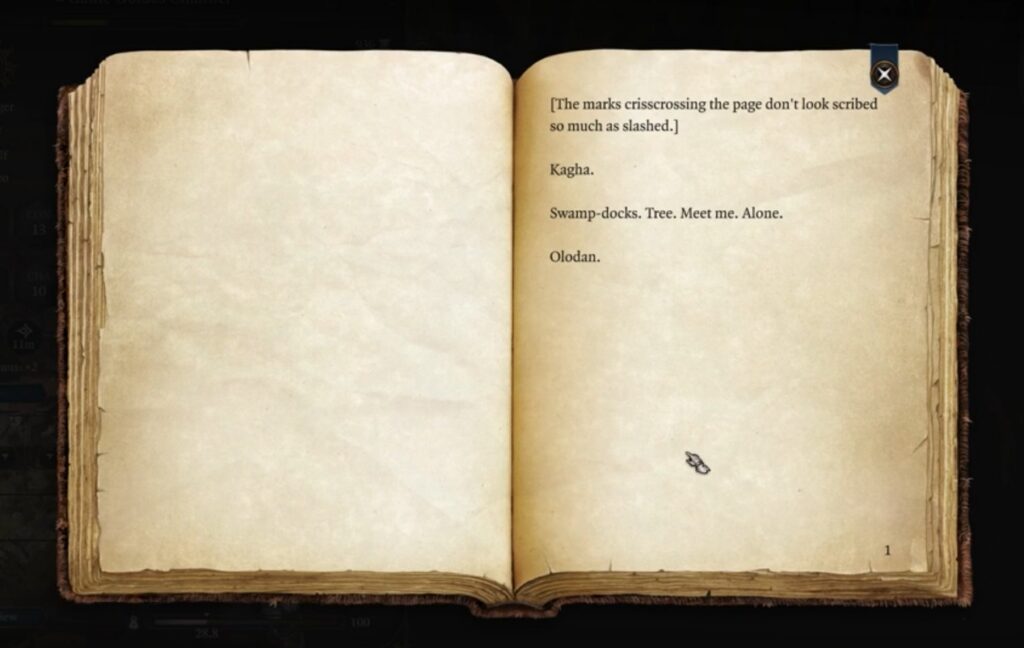
From here, look for an opening in a wall that will take you behind one of the bookshelves. There you will find a chest. You can pick the lock, steal the key from Kagha if you dare, or even take the chest back to camp and open it there without getting caught.
In the chest, you will find a letter addressed to Kagha from a certain Olodan, who asks her to go alone to Swamp-docks.
Got to the Swamp-dock to find out the truth
This Swamp is located in the south of the map. To find it, head west when you leave Druid’s Grove and cross the stone bridge. From there, head south until you reach the swamplands. But be careful! This terrain is full of traps and demented sheep. The meeting place will appear on your map as the quest marker.
When you get close enough to the quest marker, you will engage in combat with two Wood Woads and several Mud Mephits. You must defeat them all to gain access to the cut tree trunk in the middle of the stage.
Once you have defeated all the enemies, go around the tree trunk until you find a wooden crevice, inside which you will find another letter.
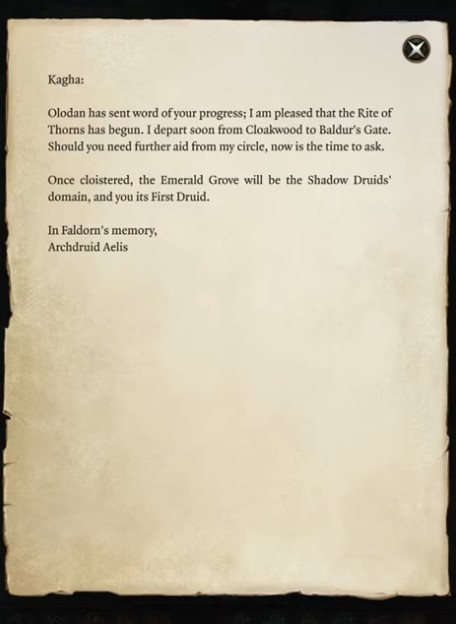
Once you have discovered Kagha’s true purpose, return to the Druid’s Grove to confront him. As soon as you mention the Shadow Druids, this will trigger a scene, and the rats in the main room will reveal themselves as Shadow Druids.
The following conversation will trigger a fight, whether you convince Kagha to return to her senses or not; the only difference being if Kagha is on your side or not.
Toll House Basement
Located on the risen roads in act 1, north of the Blighted Village. There you’ll first find Karlack as a new companion, who will ask you to help her defeat some fake paladins of Tyr inside the toll house. Before you head to the toll house to inspect the surroundings, you’ll find the bodies of the dead toll collectors. Use speak with the dead and one of them will inform you about the location of a key.
If you are not playing a spellcaster, or do not find the dead bodies, the key is on the floor, on the path toward Karlach, south of the toll house.
If you reach the toll house with karlach a fight will start, If you don’t the so-called Paladins of Tyr don’t really know what’s in the basement so they won’t interfere.
Go down the trapdoor and open the door/wall.
Be careful! The following rooms are full of traps. Proceed through the first and second rooms with caution until you find two thrones on the left wall of the second room. To open the next room, you must separate two members of your party and seat them on each of the thrones. This will activate the entrance to the secret vault.
Zhentarim Hideout: Free the Artist
In a barn west of Waukeens Rest in act 1, you’ll find the Zhentarim Hideout. Your party will be aware of where this hideout is depending on how the mission “Find the Missing Shipment” went. If the party has spared Ruhan’s life, he will share the location with you, along with the password to enter.
With a successful perception check, you’ll notice Salazon behind some shelve., Give him the password “little serpent, long shadow” and he will provide you with the key to a wardrobe that leads into the hideout. If you don’t have the password you can persuade him or intimidate him into giving you the key.
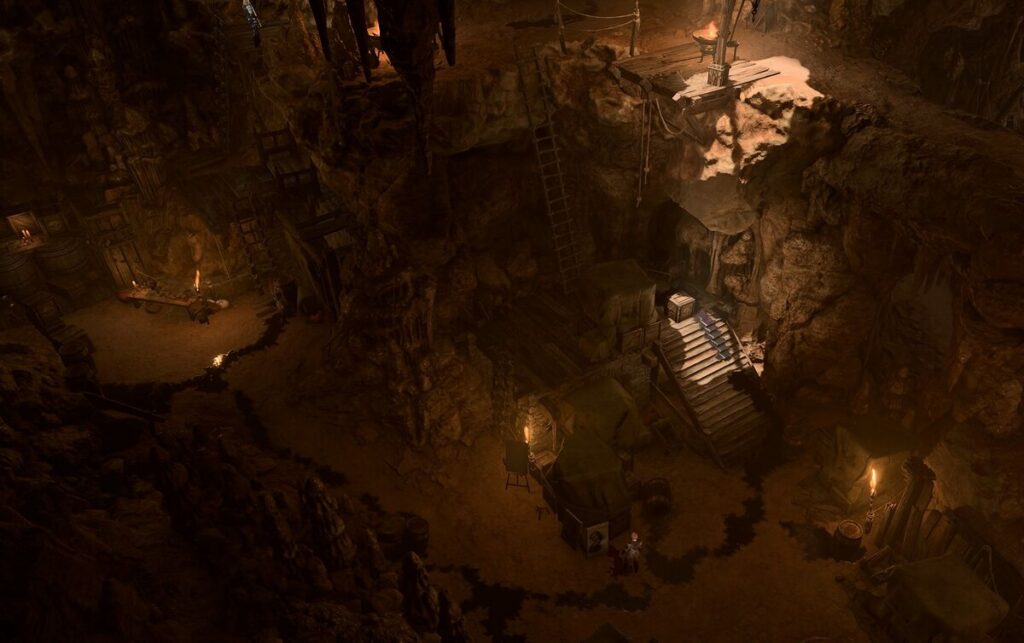
Enter the Zhentarim Hideout
Enter the hideout and find Oskar Fevras, the artist. Brem, another Zhentarim, is holding him hostage. Try to speak first to Brenn to convince him that Oskar is more trouble than he is worth. This will open a dialogue about letting Oskar go.
After freeing Oskar, you can go back to him and tell him the great news, he will then tell you that he is engaged to a wealthy woman, but feels conflicted about leaving his first love behind. He asks for more gold for the journey, claiming that his fiancée can generously reward the group for rescuing him. Regardless of the payment, he manages to escape and returns to Baldur’s Gate.
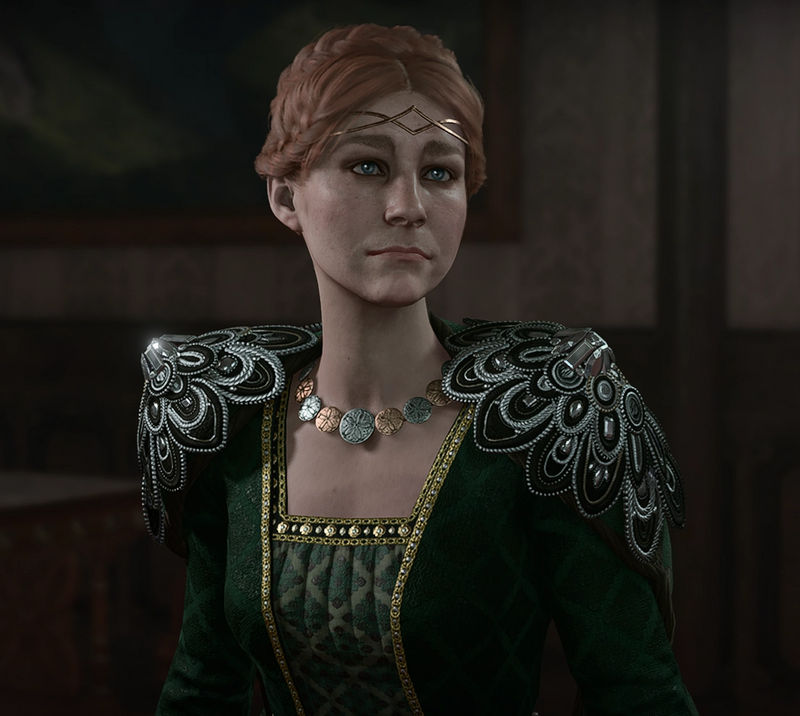
Act 3: Visit Lady Jannath’s Estate
Once on act three, find Lady Jannath’s Estate, in the lower city. The entrance is guarded by Tarhun Mnemonis, the butler, who explains that Lady Jannath has sent all her servants on holiday, including himself. As he is technically on leave, he cannot prevent anyone from entering the estate. During this conversation, you’ll hear screams and loud bangs from inside the mansion.
When entering the mansion, it is clear that something supernatural is happening. Go to a bedroom, locked behind double doors on the second floor to find Lady Jannath and a possessed Oskar.
After a cut scene three poltergeists will appear. If you knock Oskar unconscious, the poltergeists will disappear. If you kill him, Lady Jannath will expel you and your party from the mansion.
Once the poltergeists have been dealt with, Lady Jannath asks the party for help. She explains that she dismissed her servants to maintain discretion and expresses her concern about the strange activity occurring in the workshop on the upper floor, asking the group to investigate.
Upon entering the workshop, the party must face several cursed skulls that inflict thunder damage and knock characters back. Inside the workshop, a successful perception check reveals a hidden wall. This hidden section can be accessed by interacting with Oskar’s portraits: picking up the portrait leaning against the western wall and placing it on the empty easel opens a secret room that contains a possessed painting. Behind the portrait is also a locked chest. Pick the lock and read the Letter to Oskar Fevras. You will discover that Oskar had been corresponding with someone known as Mystic Carrion, who was helping him with his spell.
Act 2: The Kou-Toa and the Absolute’s Camp
The Festering Cove: Meet BOOOAL
In the underdark, there is a cave full of strange amphibian-like creatures, its entrance is surrounded by explosive plants, so be careful. This location is directly East from the Arcane Tower. Hit the explosive plants before approaching them and venturing forth.
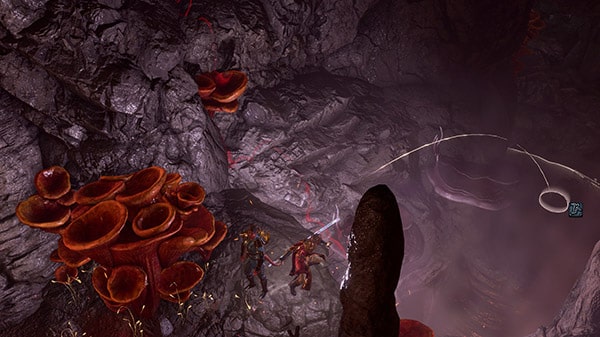
This is a completely optional and expendable area. There is only one mission there, besides some treasures to find. Due to its isolation, players can resolve things peacefully or kill everyone without affecting the main plot.
After initiating a conversation with the tribe’s priest, BOOOAL will appear and demand a sacrifice. There are many ways to proceed here, and it depends on the players’ choices.
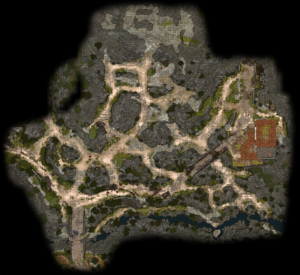
Absolute’s Army Camp
In act two, if you go far west from Moonrise towers, south the House of healing’s morgue and almost reach the edge of the map, you’ll trigger a cut scene that will reveal the Absolute’s Army Camp. You can venture forward with the party and end up in the Oubliette, right beneath Moonrise towers.
Act 3: Mind Flayers, Florrick and the Djinn Lamp
The Rivington Mind flayer
Once you begin act three, you’ll reach Rivington, just outside Baldur’s Gate. At this point of your playthrough, the mindflayer invasion represents the greatest and most immediate threat to Baldur’s Gate. However, you’ll know by this point that what really matters is whether a mind flayer remains connected to the hive mind.
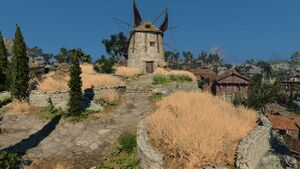
In Rivington you’ll find an abandoned windmill, pick the lock to enter and climb down the hatch. Here you’ll find a newly transformed mind flayer, you can choose to be an ally or kill it.
❗If you choose to keep him alive, you’ll need to feed the newborn mind flayer a body. In order to do this, leave the wind mill and find a victim. Anyone will do, as long as you pick up the body and bring it back to the mind flayer.
Free Counselor Florrick
Free counselor Florrick from the Wyrm’s Rock Prison. Bear in mind this is a time-sensitive quest and must be completed before five long rests. You’ll find Counsellor Florric execution notice in the lower city, or after speaking to Duke Ulder Ravengars, right after the coronation.
The entrance to Wyrm’s Rock Prison is within Wyrm’s Rock Fortress, down a passageway in the southwest room. The door to the prison is guarded by a sleeping Flaming Fist. With a successful perception check, the party can listen in to what she is sleep-talking about and find out there is a man named Otto Ott Otto Ott in prison, or the party can wake the guard up and convince her to let them pass. Counselor Florrick is in the third cell to the left.
When spoken with, Florrick will need you to convince her to escape.
Pick the lock or use Dimension Door to bring Florick out, Either way, use an invisibility potion or spell on her before letting her out of the cell. This way the guard will not attack you.
Once escaped Wrym’s Rock prison, speak to Florrick she will thank you for your help before leaving for the Upper City to seek allies.
Escape the Djinni’s lamp
You’ll find The Peculiar Lamp in the vault of Sorcerous Sundries, this so-called peculiar lamp is hidden behind an illusion. A wall you can walk right through. Beyond this wall is a small chamber with a black lamp on a stone pedestal.
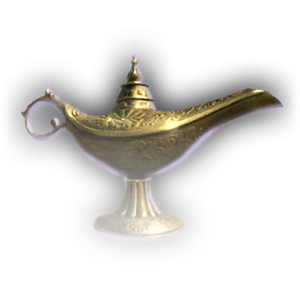
If you approach the lamp and touch it, you’ll be transported inside. The Djinn that was once inside the lamp will take your place outside and your party will have to make the decision of letting the djinn go or attack.
The best way to deal with this lamp is not touching it. Summon a familiar or an elemental to do so. You can also use mage hand to move the lamp and summon the djinn without swapping places.
If you could not resist yourself and had to touch the lamp…there is another way to get out. Any summoning spell or scroll should do the trick. Giving the lamp another tenant will fulfill the requirement.
Hidden Gems Keep Appearing in Baldur’s Gate 3
These are just some of the hidden scenes, treasures, and side quests in Baldur’s Gate 3. This video game has managed, through the curiosity of the player, to create an almost unique replayabily.
Players return, tryout new characters and combinations, new storylines, and throughly investigate every corner of the maps. Venture forth to discober each of its secrets, and you can do it with company! Find gamers who are also eager to re explore Faêrun.
Game on! 🧙♀️