We’ve all been there. You’re excited. The shrink wrap is barely off, the board is pristine, the components gleam like dragon treasure, and your friends are actually in the same room at the same time.
It’s game night, and you’re the chosen one. You are the explainer, the oracle of game laws, the bearer of rulebooks. You’re ready to teach this brand-new game and usher your companions into a world of strategic depth, dice rolling, and – let’s be honest – a few passive-aggressive “you didn’t tell us that rule!” comments.
Teaching a board game isn’t just reading the rulebook out loud (please, for the love of cardboard, never do this). Teach too much, and you’ll bore everyone to tears. Teach too little, and chaos reigns by turn two. So how do you strike the perfect balance? How do you become the Yoda of tabletop rules instead of the person that makes people disappear by putting a new game on the table?
Let’s walk through a step-by-step guide on how to teach a board game effectively, without sparking a mutiny or losing your game night privileges.
Step 1: Know Thy Game (Play It First, If You Can)
Before you teach a game, make sure you know it yourself. Seems obvious, right? But you’d be surprised how many people try to explain a game they haven’t even played yet.
If you can, play a solo round or two, or watch a tutorial video beforehand (YouTube is overflowing with charismatic game explainers who’ve already done the hard work). Familiarize yourself with the flow of the game: how to setup, how a turn is structured, what the win conditions are, and the most common actions players will take.
It’s important not to try and memorize every exception or corner case. That will get you lost in the weeds. Instead, just get the core engine humming in your brain.
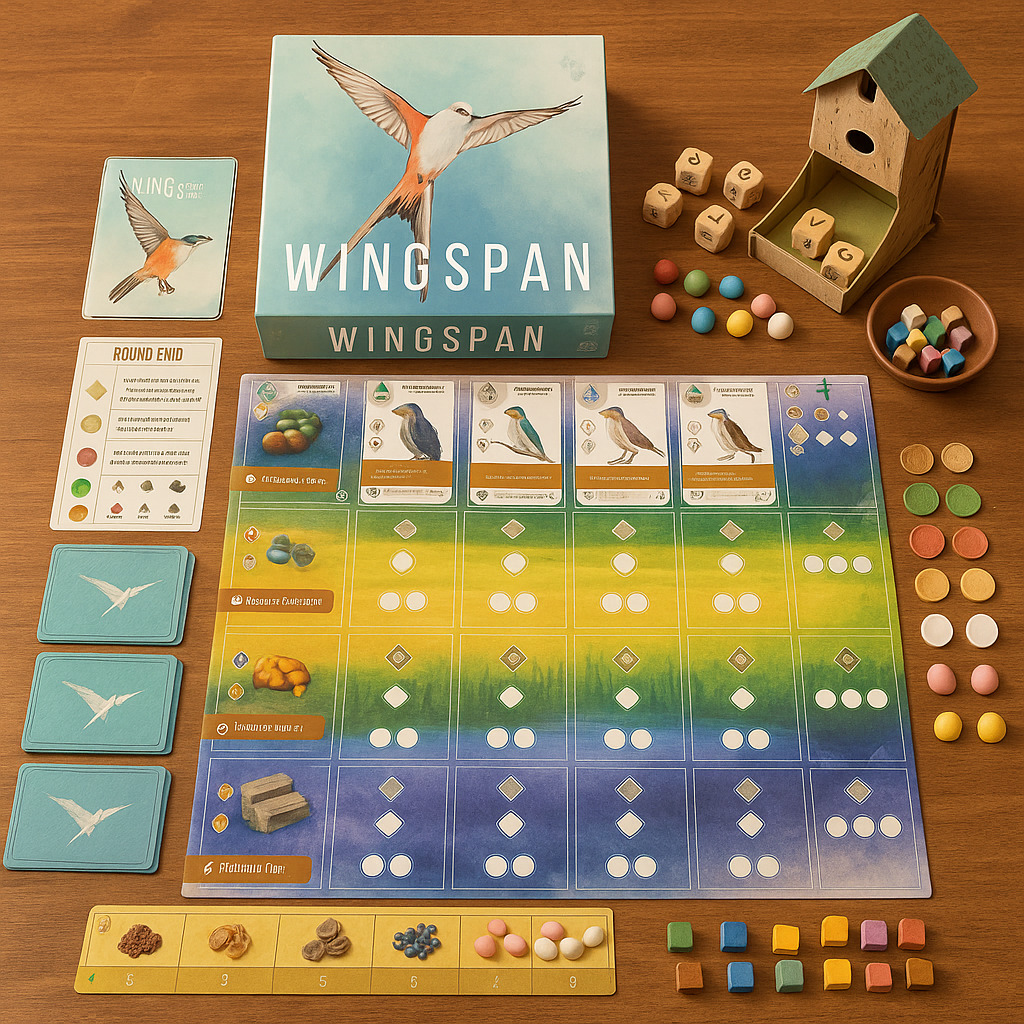
For Example: If you’re teaching Wingspan for the first time, focus on the round structure (play a bird, gain food, lay eggs, etc.) and how to score points. You can explain what a “tuck card” does when it comes up. That way you have to frontload every keyword like it’s a Uni final.
Step 2: Set the Stage—Literally
Before you say a word, make sure the game you want to teach is set up properly. In fact, it’s much better to have the game set up before you bring your players to the table. Setup can take time, so avoid having your players sit around for 30 minutes while you figure out which tokens get placed where.
Also, seeing the game laid out helps learners visualize what you’re explaining. Keep the area tidy, components visible, and avoid starting with a table that looks like a Jackson Pollock painting made of meeples.
Place player pieces and cards where they’ll be used. Distribute player aids if available. And for the love of Catan, don’t forget the snacks—but keep them away from the cards.
Step 3: Give the “Why” Before the “How”
Begin your explanation with the game’s objective. What are we trying to do? How do you win? If players don’t understand the destination, they won’t care about the journey. They certainly won’t remember the rule about scoring purple tokens during the lunar eclipse.
Keep this short and punchy. One or two sentences. This orients everyone and gives context to everything that follows.
For Example: In the well known game Splendor, you might say, “We’re Renaissance merchants trying to buy gem mines and impress nobles. First person to 15 points wins.” Boom! Now every gem you explain has a purpose.
Step 4: Explain the Game Flow in Broad Strokes
Next, outline what a typical turn looks like. Do not dive into every possible choice just yet. Instead, provide a high-level overview of what players can do on their turn.
People learn best by seeing patterns. So explain the core loop: what players will be doing over and over. This gives your game students something to latch onto and helps them to picture the flow of the game.
For Example: If you were teaching Carcassonne, you’d say, “On your turn, you draw a tile, place it on the board, then optionally place a meeple on it to score points later.” That’s the heartbeat of the game and you get that across before dissecting city vs. road vs. monastery scoring.
Step 5: Introduce Key Concepts in Context
Once you’ve outlined the game flow, zoom into each part. Introduce rules as they become relevant, using components and examples. Point to the board, move pieces, simulate mini-turns.
Resist the urge to teach every rule upfront, especially rule exceptions. Most people don’t need to know what happens if the draw pile runs out until it actually happens.
For Example: In Azul, you could show how to draft tiles from a factory and place them on to the player board. Don’t explain end-of-round wall scoring until everyone understands tile placement. Step-by-step layering makes the game click faster.
Step 6: Let People Ask Questions (But Keep the Train Moving)
Encourage questions, but don’t let them derail you. If someone asks a niche rule about the final round or a rare tie-breaker, politely promise to cover it later and steer back to the main track.
Use humor, empathy, and (when needed) a firm but friendly “We’ll get to that!” smile.
This is important as it’s all too easy to get derailed in your explanation, or to veer into a new topic and confuse players.
Step 7: Play a Sample Turn Together
Once you’ve explained the basics, play a practice turn. No pressure. Let each player do a dummy action to reinforce what they’ve learned. This hands-on approach helps cement understanding far better than verbal explanations alone.
It also gives you a chance to correct any misunderstandings gently before real competition begins.
For Example: In 7 Wonders, you might do a practice draft where everyone chooses a card, explains what it does, and places it. By the time the actual game begins, everyone feels like they’re already playing.
Step 8: Start Playing (and Be the Rule Referee)
Now it’s go time. Let the real game begin, but stay on hand to answer questions and gently nudge players if they forget key steps. Be patient because people will forget stuff. That’s part of the process.
Don’t punish mistakes harshly early on. You want people to have fun and enjoy the experience, not feel like they are in the World Championship of Pandemic. Encourage learning through play and allow “take backsies”.
Step 9: Debrief and Celebrate
After the game, do a short debrief. Let people share what they enjoyed, laugh about weird moments, and ask about strategies they might try next time. This reinforces the experience and creates positive associations with learning new games.
If it was someone’s first time with a heavier title, congratulate them for surviving. Bonus points if you give them a faux award like “Best Use of Sheep in a Non-Farming Role.”
Conclusion
Teaching a board game doesn’t have to feel like reciting the tax code to a group of distracted toddlers. With a little prep, some empathy, and a dash of theatrical flair, you can become the kind of rules teacher people want to play with: clear, kind, and just the right amount of nerdy.
Remember: focus on the core loop, give context before complexity, and use examples like they’re your secret weapon. And above all, make it fun. This is playtime, after all.
So go forth, fearless explainer of games! Crack open that shrink-wrapped box, gather your friends, and teach them something new. You’ve got this. Just maybe keep the giant rulebook for Twilight Imperium out of sight until they’re emotionally prepared.